Candle making is a unique craft that combines creativity, patience, and a touch of science. Whether you’re looking to create cozy ambiance for your home, craft personalized gifts, or start a small business, understanding the basics is essential. This beginner’s guide will take you through the fundamentals of candle making, offering insight into materials, techniques, and tips to help you craft beautiful, long-lasting candles.
Understanding the Basics: Wax, Wicks, and Fragrance
The core components of any candle are wax, wick, and fragrance. Each plays a vital role in how your candle looks, burns, and smells.
- Wax: There are many types of waxes, including paraffin, soy, beeswax, and palm wax. Each type has unique characteristics. For example, soy wax is popular for its clean burn and eco-friendliness, while beeswax offers a natural scent and longer burn time.
- Wicks: The wick size and material impact the flame’s size and how evenly your candle burns. Cotton wicks are common, but wooden wicks are gaining popularity for their aesthetic and crackling sound.
- Fragrance Oils: Adding scent elevates your candle from just a light source to a sensory experience. It’s important to use oils designed for candles to ensure safety and good scent throw.
Essential Tools and Safety Tips
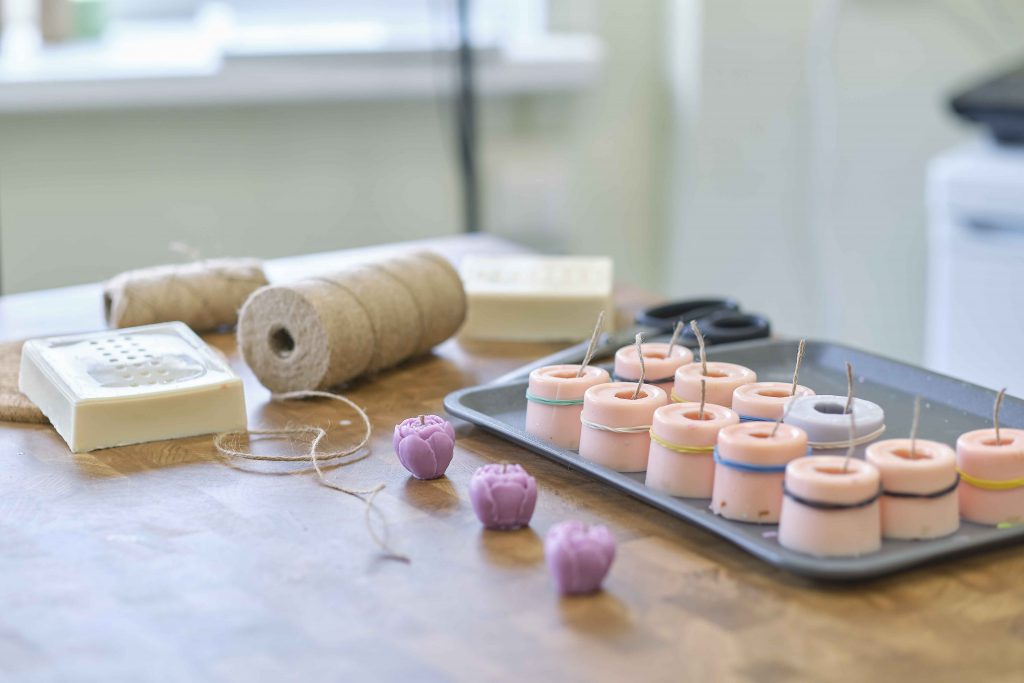
Before you start, gather your tools: a double boiler or melting pot, thermometer, molds or containers, and stirring utensils. Safety is crucial — always work in a well-ventilated area, avoid water near hot wax, and never leave melting wax unattended.
Step-by-Step Candle Making Process
- Melting the Wax: Use a double boiler to gently melt your wax to the recommended temperature, typically between 170-185°F (77-85°C).
- Preparing the Wick: Secure the wick in the center of your mold or container. You can use wick stickers or hot glue to keep it in place.
- Adding Fragrance and Color: Remove the wax from heat, then add fragrance oils and colorants at the right temperature to ensure even distribution.
- Pouring the Wax: Slowly pour the wax into your container, leaving a small gap at the top.
- Cooling and Setting: Let your candle cool at room temperature without moving it to avoid cracks or uneven surfaces.
- Trimming the Wick: Once fully set, trim the wick to about ¼ inch for optimal burning.
Tips for Perfect Candles
- Experiment with wick sizes to find the best match for your container.
- Use high-quality fragrance oils for a stronger, longer-lasting scent.
- Allow candles to cure for a few days before lighting; this helps the scent fully develop.
- Keep your workspace clean and organized to avoid contaminating your candles.
Conclusion
Candle making is a rewarding hobby that blends art and science beautifully. With patience and practice, you’ll develop the skills to create stunning, fragrant candles that bring warmth and personality to any space. Stay tuned for more tips and creative ideas in our upcoming blog posts!

